
Youtube Studio Equipment
Hey friend! I hope you’re having a fabulous day. :)
I shared a picture of my new YouTube studio yesterday and had some people ask to dive deeper into my equipment and setup. I had so much fun picking these things out and setting them up in my little space so why, YES, of course I’d love to show you around! Let’s dive in!
This post contains affiliate links but all opinions are my own!

Video

I shoot with a Panasonic Lumix G7 4K Mirrorless Camera. I love this little guy, even though I just had to send it to Panasonic for warranty repair less than a year of having it. Not sure what went wrong but it was a covered repair and we’re back in business!

I recently got this Panasonic Lumix G Lens 25mm and it has made ALL the difference in my video. This is the lens that will give you that blurred bokeh background while keeping you in focus. I love, love, love this lens!

I’m embarrassed at how long it took me to find out about an AC power adapter for my camera. I can’t tell you how many times my battery would die in the middle of filming and I was just out of luck until it was charged. Then I learned that you can plug your camera into an outlet with this adapter and never run of out of juice. Shoutout to Kelechi for this tip! Her channel is awesome if you’re a new Youtuber, btw!
Lighting

This Softbox Lighting Kit made the most difference in the lighting of my video. I love that they give off bright light without that “ring light” look in my eyes. The filter screen does a great job of making the light soft!

I don’t know if this little selfie ring light makes a huge difference but it was gifted to me and I want to make my flat lay videos as bright as possible. I like that it clamps onto my table and can hold my phone for B roll footage. I may get a larger 10” light to replace this one. I usually position this right over my iPad when I’m filming tutorial videos.
Setup

This horizontal arm tripod is a MUST for flat-lay videos. All three legs have adjustable rings so I can extend the back two legs to rest on the floor and shorten the front leg to sit on top of my table. One thing that I JUST learned is that with this setup I have (where the tripod is in front of me as I’m filming) the video will be upside down. That used to bug me to NO end and I would try to set it up next to me to get the “right side up” angle but then it would be straight. And then I watched a YouTube video where the videographer films upside down and then just rotates the footage in iMovie afterward. FACE PALM, guys. My mind literally exploded. ;) You’re welcome!

Sometimes I like to film on my iPhone for IG stories/IGTV and this is the best, lightweight phone tripod. I love that it fits my Loopy phone case, which is usually a pain with other tripods!

This backdrop stand is set up in my studio but I haven’t used it yet. It was gifted to me and I’ll use it if I want to change up the background in my videos.

If you’re curious about my desk, I made it! I just got a finished piece of wood from Lowes, stained it Golden Pecan and attached these 28” hairpin legs to it. My stool is an old Ikea stand-in until I find a chair I love!
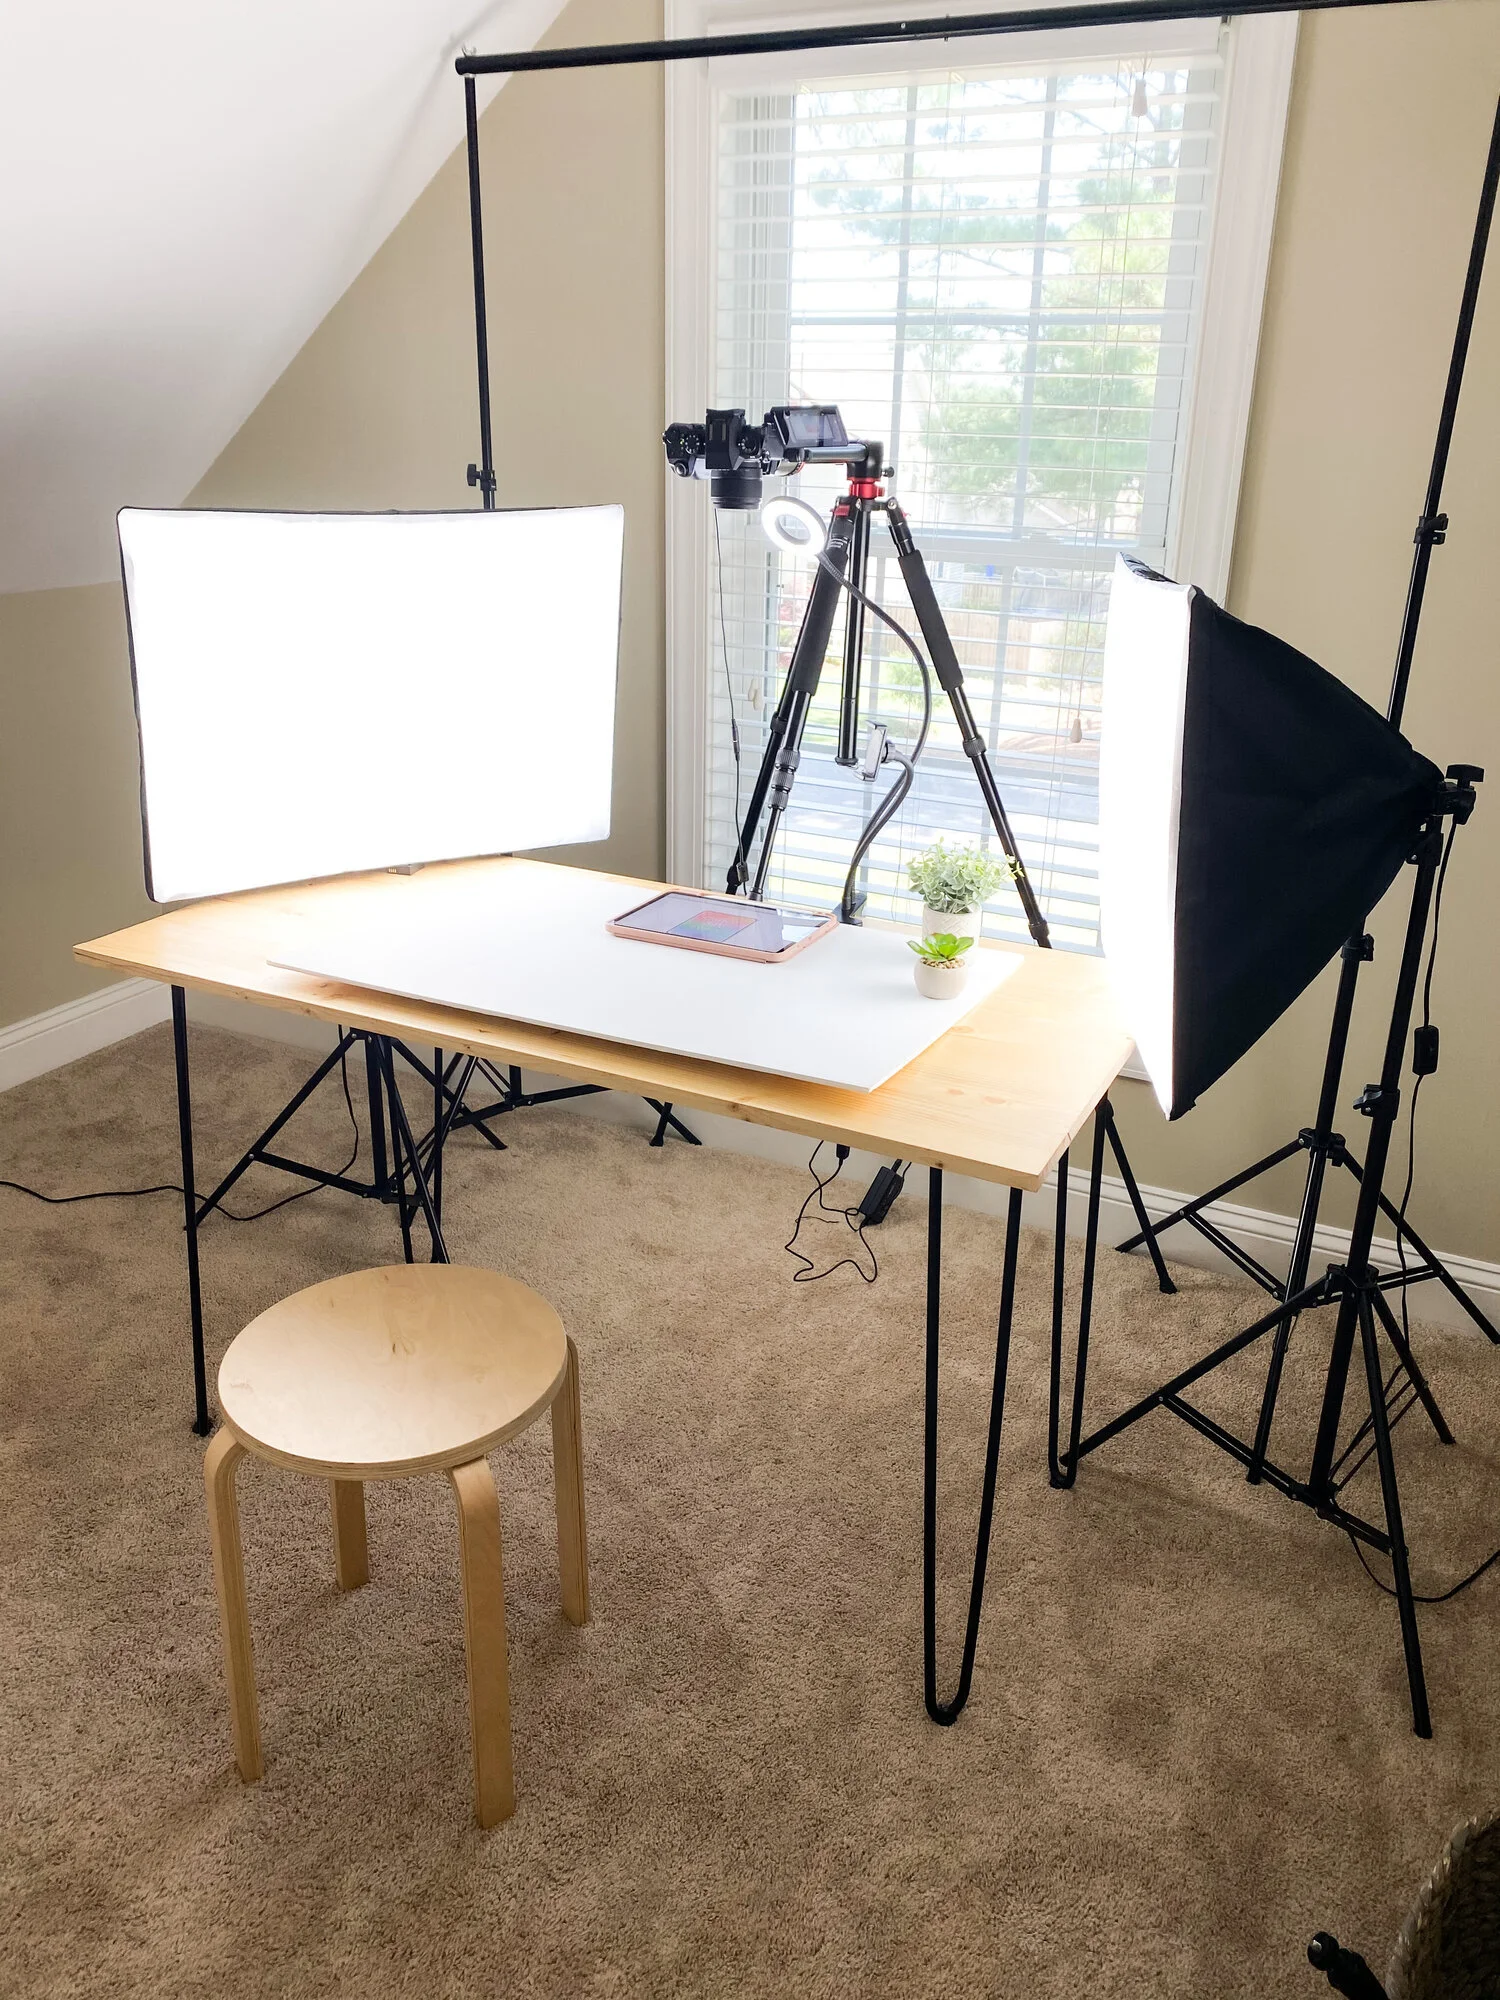
I like to have a white background in some of my photos and videos so I just use a white foam poster board on top of my table. :)
I hope you guys liked this in-depth look at my equipment and set up! If you’re on YouTube, please share your channel with me! I’d love to support you. :D
Have a lovely day! Talk to you next time!